
In the world of 3D printing, precision is everything. The bed leveling process plays a vital role in achieving high-quality prints. A properly leveled bed ensures that the nozzle stays at the right distance from the print surface, preventing filament from being extruded too high or too low. One tool that has revolutionized bed leveling is the BLTouch sensor. However, like any piece of technology, users may encounter issues such as the “BLTouch only probes once” problem. This article will explore the BLTouch sensor, understand why it may only probe once, and provide solutions to resolve this issue.
What is BLTouch?
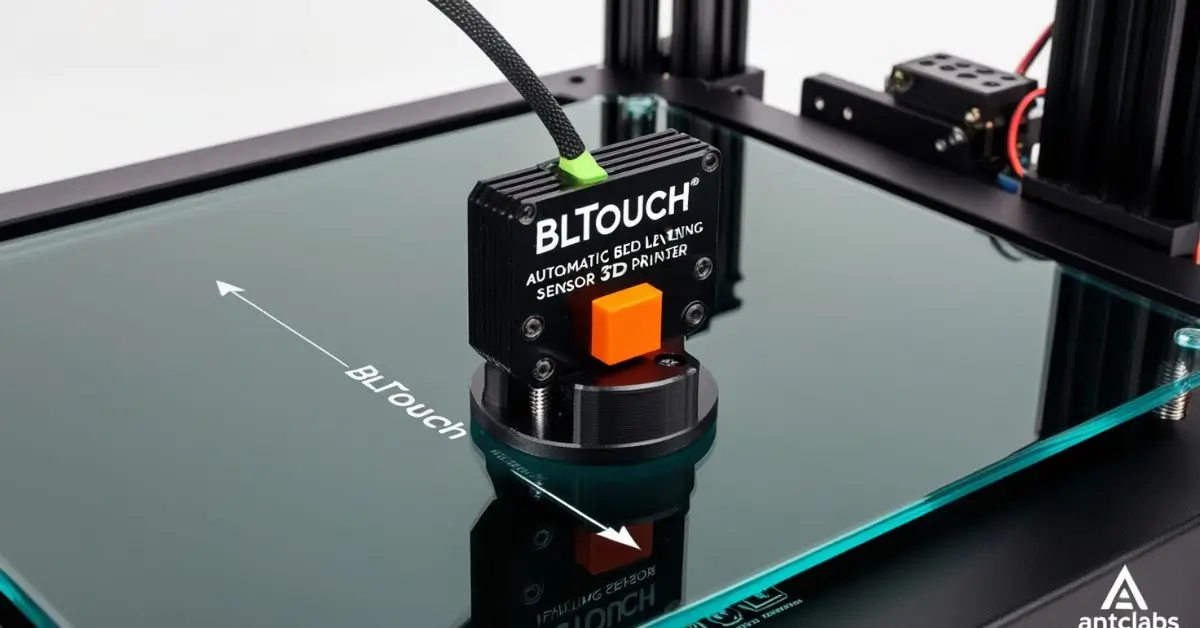
BLTouch is an automatic bed leveling sensor for 3D printers, developed by Antclabs. It uses a push-pin probe to detect the bed’s surface, ensuring that the bed is perfectly leveled for printing. The sensor is compatible with a variety of 3D printers and works with both glass and metal beds, making it an ideal choice for hobbyists and professionals alike.
The primary advantage of the BLTouch is its accuracy in leveling the bed. It replaces manual leveling, allowing users to automate the process and reduce the risk of first-layer printing issues. BLTouch interacts directly with the printer’s firmware, performing checks at various points on the print bed to ensure even leveling.
Common Issues with BLTouch
While BLTouch is an efficient tool for 3D printing, it isn’t immune to technical problems. One common issue is the “BLTouch only probes once” phenomenon, where the sensor fails to probe multiple times as expected. This can result in improper bed leveling, leading to poor print quality or print failure.
Several factors can contribute to this problem. To diagnose and fix the issue, it is crucial to first understand the main causes behind it.
Firmware Configuration Problems
One of the most common reasons behind the “BLTouch only probes once” issue lies in improper firmware configuration. For BLTouch to function correctly, the printer’s firmware must be configured to communicate effectively with the sensor.
In popular firmware like Marlin, there are specific settings that need to be enabled or adjusted for BLTouch. For instance, the “MULTIPLE_PROBING” option in the firmware settings dictates how many times the BLTouch should probe at each point on the bed. If this setting is misconfigured, the sensor may probe only once.
Solution: Verify that your firmware is correctly configured for the BLTouch. In Marlin firmware, ensure that options like MULTIPLE_PROBING and PROBE_REPETITIONS are enabled. You can also set the number of probes to 3 or more for better accuracy. Check for any typos or errors in the configuration file, which could cause communication problems between the BLTouch and your printer.
Wiring and Connection Issues
Another common cause for the “BLTouch only probes once” issue is faulty wiring or poor connections between the BLTouch sensor and the printer’s mainboard. If the sensor is not receiving the necessary signals or power from the mainboard, it might fail to perform the multiple probing sequence.
BLTouch sensors rely on several wires: typically, a ground, power, and signal wire. If any of these wires are loose, damaged, or incorrectly connected, it can lead to malfunction. Additionally, interference from other components of the 3D printer can disrupt the signal, causing the sensor to fail.
Solution: Inspect all connections between the BLTouch and the mainboard. Ensure that the wires are properly secured and free from any visible damage. If necessary, use a multimeter to check for continuity in the wiring. Ensure that the sensor is connected to the correct pins on the mainboard, and double-check the polarity of the power and signal wires.
Physical Damage to the Sensor
The BLTouch’s physical probe is a delicate component, and if it is damaged, the sensor may fail to operate correctly. The push-pin can become bent, obstructed, or misaligned due to collisions with the print bed or nozzle. In some cases, the internal mechanism of the sensor can wear out, leading to improper operation.
Solution: Check the BLTouch sensor for any signs of physical damage. Ensure that the push-pin moves freely and is not obstructed by debris. If the pin is bent, it may need to be replaced. In severe cases where the internal mechanism is damaged, replacing the entire sensor may be necessary.
Software and G-Code Errors
Another potential cause for the “BLTouch only probes once” problem is an error in the software or G-code. The G-code generated for 3D printing contains instructions for the printer, including commands for bed leveling and probing. If there is an issue with the G-code, the printer may not perform the probing sequence correctly.
Solution: Review the G-code generated by your slicer software. Look for any errors in the probing commands, such as missing or incorrect M-codes or G-codes. Ensure that the correct bed leveling commands (e.g., G29) are present in the G-code. Additionally, ensure that your slicer software is set up to perform bed leveling at the start of each print.
Endstop Conflicts
In some cases, the BLTouch sensor may conflict with the printer’s endstop settings, especially if the printer is using physical endstops in conjunction with the sensor. If the firmware is incorrectly configured, the printer may interpret the sensor’s probing as an endstop trigger, causing it to halt the probing process after the first probe.
Solution: Verify that the firmware’s endstop settings are correctly configured. Ensure that the BLTouch is set as the Z-axis endstop in the firmware, and disable any conflicting endstop settings. You can also try changing the endstop logic to prevent false triggers during probing.
Steps to Troubleshoot “BLTouch Only Probes Once”
When diagnosing the “BLTouch only probes once” issue, it’s essential to follow a systematic troubleshooting approach. Below are the recommended steps to identify and resolve the problem:
Step 1: Check Firmware Settings
Start by reviewing your printer’s firmware settings. Ensure that the BLTouch is correctly configured, with the correct probe count and probing strategy enabled. In Marlin firmware, look for settings like MULTIPLE_PROBING and PROBE_REPETITIONS, and set them to the desired values.
Step 2: Inspect Wiring and Connections
Next, examine the wiring between the BLTouch sensor and the printer’s mainboard. Ensure that all wires are securely connected, and check for any visible signs of damage. Use a multimeter to test for continuity in the wiring if necessary.
Step 3: Test the BLTouch Sensor
Perform a manual test of the BLTouch sensor to verify its operation. Use the printer’s control panel to trigger the sensor’s self-test, and observe the movement of the push-pin. If the sensor fails to operate correctly, check for physical damage or obstruction.
Step 4: Review G-Code
Examine the G-code generated by your slicer software. Look for any errors in the bed leveling commands, and ensure that the correct commands (e.g., G29) are included at the start of the print.
Step 5: Adjust Endstop Settings
If the printer is using physical endstops in addition to the BLTouch, review the endstop settings in the firmware. Ensure that the BLTouch is set as the Z-axis endstop, and disable any conflicting settings that could interfere with the probing process.
Step 6: Replace the Sensor (if necessary)
If all other troubleshooting steps fail to resolve the issue, consider replacing the BLTouch sensor. A faulty or damaged sensor may be the root cause of the problem, and replacing it with a new unit can restore proper functionality.
Preventing Future Issues with BLTouch
To avoid encountering the “BLTouch only probes once” issue in the future, it is essential to follow best practices for sensor installation and maintenance. Below are some tips to help prevent problems with the BLTouch sensor:
- Regularly inspect wiring and connections: Ensure that the wiring between the BLTouch and the mainboard is secure and free from damage. Replace any damaged wires or connectors promptly to prevent signal issues.
- Keep the sensor clean: Dust, debris, and filament residue can obstruct the BLTouch’s push-pin, preventing it from operating correctly. Regularly clean the sensor and the surrounding area to ensure smooth operation.
- Update firmware and software: Keep your printer’s firmware and slicer software up to date. Firmware updates often include bug fixes and improvements for BLTouch functionality, while slicer updates can improve the accuracy of the generated G-code.
- Perform regular self-tests: Use the printer’s control panel to perform self-tests of the BLTouch sensor regularly. This helps identify any issues with the sensor’s operation before they affect print quality.
- Use reliable power sources: Ensure that your 3D printer’s power supply is stable and reliable. Power fluctuations can cause the BLTouch to malfunction, leading to probing errors.
Conclusion
The BLTouch sensor is an invaluable tool for automating bed leveling in 3D printing, but it can occasionally experience issues such as probing only once. By understanding the potential causes behind this problem—such as firmware configuration errors, wiring issues, and physical damage—users can effectively troubleshoot and resolve the issue. Following best practices for installation and maintenance can also help prevent future problems with the BLTouch, ensuring smooth and accurate bed leveling for every print.
By taking the time to properly diagnose and fix any issues with the BLTouch sensor, you can improve the quality of your 3D prints and enjoy a more reliable and efficient printing experience.