
Tera barcode scanners are an essential tool for businesses, offering speed and accuracy in managing inventory, processing sales, or tracking assets. Whether you’re connecting the scanner to a computer or mobile device, getting it up and running is a straightforward process. This guide covers all the essential steps to set up your Tera barcode scanner, troubleshoot common issues, and customize its configuration to fit your needs.
Understanding Tera Barcode Scanners
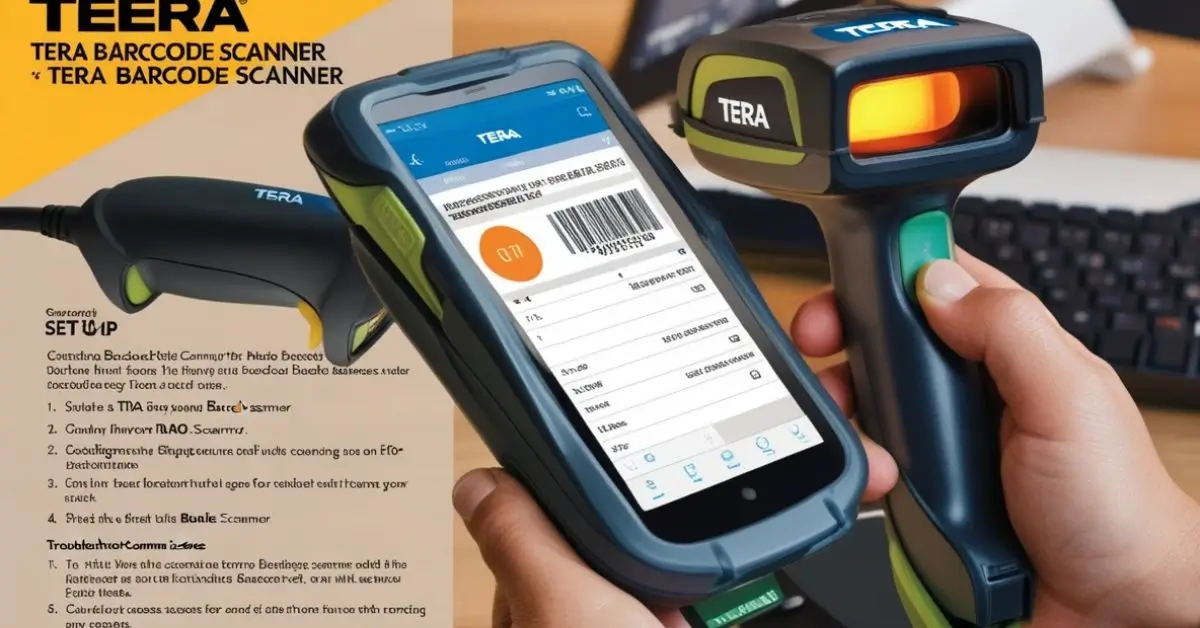
Tera barcode scanners come in a variety of models, supporting multiple connection methods like USB, 2.4GHz wireless, and Bluetooth. These versatile options make them suitable for various industries, from retail to warehousing. Each model includes a manual with configuration barcodes, which you’ll need to reference during setup.
Step 1: Identify Your Connection Mode
Before you begin, determine how you want to connect the scanner to your device. The three main connection methods are:
- USB Wired
- 2.4GHz Wireless
- Bluetooth
Each method has its own benefits and is suited for different environments.
USB Wired Connection
The USB wired connection is the simplest and fastest way to set up your scanner.
- Plug in the Scanner
- Use the included USB cable to connect the scanner to your computer.
- Automatic Driver Installation
- Most systems will recognize the device automatically and install the necessary drivers. If not, you can check your system’s device manager to verify the connection.
- Test the Scanner
- Open a program that accepts text input, like Notepad or Excel. Scan a barcode, and the corresponding data should appear in the program.
2.4GHz Wireless Connection
The wireless option provides more flexibility, especially in environments where mobility is critical.
- Insert the USB Receiver
- Plug the 2.4GHz receiver into a USB port on your computer.
- Turn on the Scanner
- Ensure the scanner’s battery is charged and power it on.
- Pair the Devices
- Locate the “2.4GHz Mode” barcode in the user manual and scan it.
- Scan the “Pairing” barcode to establish a connection. The scanner’s LED indicator will flash during pairing and turn solid once connected.
- Verify the Connection
- Test the scanner by scanning a barcode and verifying that the data appears on your computer.
Tips for Stability: Keep the scanner within range (typically up to 100 meters) of the receiver to avoid disconnections.
Bluetooth Connection
Bluetooth connectivity is perfect for pairing with tablets, smartphones, or laptops without USB ports.
- Enable Bluetooth on Your Device
- Open your device’s Bluetooth settings and enable discovery mode.
- Set the Scanner to Bluetooth Mode
- Scan the “Bluetooth HID” barcode from the manual to activate Bluetooth mode on the scanner.
- Pair the Scanner
- The scanner should appear in your device’s Bluetooth list as “BarCode Scanner HID.” Select it to pair.
- Complete the Pairing
- If a PIN is required, enter “0000.” The scanner’s LED will turn solid to indicate a successful connection.
- Test the Scanner
- Open an application on your device and scan a barcode to ensure the setup is complete.
Configuring Your Tera Barcode Scanner
Once connected, you can customize the scanner’s settings to meet your specific requirements. Use the configuration barcodes in the manual to adjust settings like keyboard language, prefixes/suffixes, and supported barcode symbologies.
Setting the Keyboard Language
- Locate the Keyboard Language Section
- In the manual, find the barcodes corresponding to different languages.
- Scan the Barcode for Your Language
- For example, scan the English language barcode if you’re using a QWERTY keyboard.
Customizing Prefixes and Suffixes
- Choose Prefix/Suffix Settings
- Identify the configuration barcodes for prefixes or suffixes in the manual.
- Scan the Barcodes
- For instance, scan the barcode to add a prefix like “$” or a suffix like “#” to scanned data.
Enabling/Disabling Barcode Types
- Find Barcode Symbology Settings
- The manual includes barcodes for enabling or disabling specific types, such as QR codes or UPC codes.
- Scan to Configure
- For example, to enable QR code scanning, locate and scan the relevant barcode.
Troubleshooting Common Issues
Even the best devices can encounter hiccups. Here’s how to address common problems during setup:
Connection Problems
- USB Wired Mode: Ensure the cable is securely connected and the drivers are properly installed. Restart your computer if the scanner is not recognized.
- 2.4GHz Wireless Mode: Check the USB receiver’s connection and ensure the scanner is in pairing mode.
- Bluetooth Mode: Confirm that the scanner and device are within Bluetooth range and no other device is already paired with the scanner.
Unresponsive Scanner
If the scanner isn’t working:
- Reset the Device
- Scan the “Restore Factory Settings” barcode in the manual.
- Recharge the Battery
- Ensure the scanner has enough power for operation.
Incorrect Data Output
If the scanner isn’t interpreting barcodes correctly:
- Verify Language Settings
- Ensure the keyboard language matches your system’s input language.
- Reconfigure Symbology
- Double-check the barcode types enabled on your scanner.
Advantages of Each Connection Method
To help you choose the best option, here’s a comparison of the three connection methods:
| Feature | USB Wired | 2.4GHz Wireless | Bluetooth |
|---|---|---|---|
| Setup Complexity | Easy | Moderate | Moderate |
| Mobility | Low | High | High |
| Range | Cable Length | Up to 100 meters | Up to 10 meters |
| Power Source | Direct from device | Battery-powered | Battery-powered |
| Interference Risk | None | Moderate | High |
Maintaining Your Scanner
To ensure optimal performance:
- Regularly Clean the Scanner: Use a soft cloth to remove dirt or smudges from the lens.
- Update Firmware: Periodically check for updates to keep the scanner’s software current.
- Store Safely: Avoid dropping or exposing the scanner to extreme temperatures.
Benefits of a Well-Configured Barcode Scanner
Investing time in proper setup pays off in several ways:
- Increased Efficiency: A properly configured scanner speeds up data entry and reduces errors.
- Enhanced Flexibility: Customization options make the scanner adaptable to various tasks.
- Improved Workflow: Reliable connectivity ensures smooth operations across departments.
Final Thoughts
Setting up a Tera barcode scanner is a user-friendly process that can be tailored to meet your unique needs. Whether you choose USB, wireless, or Bluetooth connectivity, following the steps outlined ensures a seamless experience. With proper configuration and maintenance, your scanner will be a valuable asset for years to come.
For an additional visual guide, search for online tutorials or video demonstrations related to your specific Tera scanner model to reinforce your understanding.