
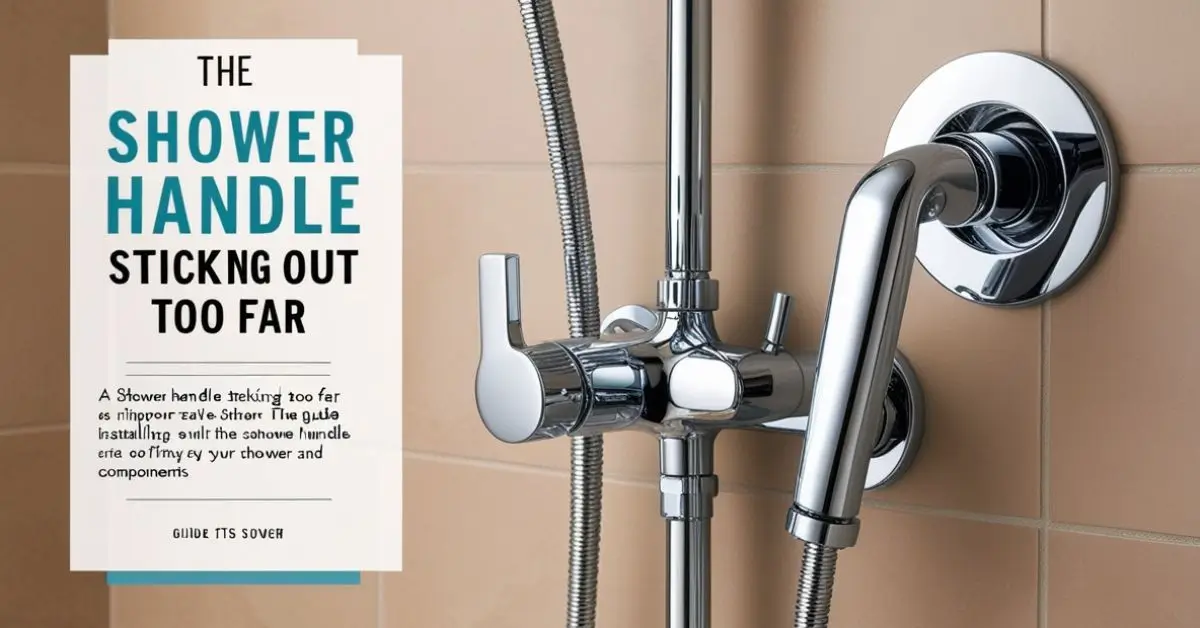
Shower Handle Sticking Out Too Far: How to Fix It. A shower handle sticking out too far is not just a cosmetic issue—it can impact the functionality of your shower system and even cause discomfort. The problem typically stems from improper valve installation, wall thickness discrepancies, or mismatched components. Fortunately, it’s a fixable issue. This guide walks you through understanding the causes, assessing the problem, and implementing effective solutions.
Common Causes of a Protruding Shower Handle
- Incorrect Valve Depth
A valve positioned too close to the outer surface of the wall is the most frequent culprit. When installed, the handle extends beyond its intended position, resulting in an awkward or unsightly appearance. - Wall Thickness Issues
Variations in wall materials or additional layers, such as tiles, can impact the final alignment of the valve, causing the handle to stick out. - Incompatible Components
Mixing and matching different brands or models of handles, trim kits, and valves can lead to improper fit, further exacerbating the problem. - Renovation Errors
If walls are refinished or tiles are added after the valve installation, this can create a gap between the wall and the handle.
Assessing the Problem
Before diving into a solution, it’s essential to properly assess the situation:
- Remove the Handle and Trim Plate
Use a screwdriver to carefully remove the handle and trim plate, exposing the valve. Observe how far the valve protrudes from the wall. - Measure the Protrusion
Measure the distance between the valve face and the finished wall surface. Compare this measurement with the manufacturer’s recommended depth, typically found in the installation manual. - Inspect Compatibility
Check if the handle and trim kit match the valve. Look for brand names and model numbers to ensure compatibility.
Solutions to Fix a Protruding Shower Handle
There are several ways to address this issue depending on the severity of the protrusion and your comfort level with DIY repairs. Below are the most effective solutions:
1. Adjust the Valve Position
If the valve is installed too far forward, repositioning it is often the most effective solution. This method ensures the handle aligns correctly with the wall surface.
- Steps to Adjust the Valve
- If there is access to the wall cavity (e.g., through an adjacent room or access panel), carefully reposition the valve deeper into the wall.
- Use adjustable mounting brackets or spacer kits to secure the valve at the correct depth.
- Reattach the handle and trim plate to confirm alignment.
- Considerations
- This approach may require opening the wall, which can be labor-intensive.
- If plumbing modifications are needed, consult a licensed plumber.
2. Install a Trim Extension Kit
Many manufacturers offer trim extension kits designed to address depth misalignments. These kits include extended escutcheons and screws, allowing the trim plate to sit flush against the wall.
- Steps to Use a Trim Extension Kit
- Purchase an extension kit that matches your valve brand and model.
- Follow the included instructions to attach the extended escutcheon and screws.
- Reinstall the handle and verify the fit.
- Benefits
- Trim kits are relatively easy to install and do not require opening the wall.
- They provide a polished, professional appearance without significant labor.
3. Add a Decorative Backplate
A decorative backplate or rosette can effectively cover gaps caused by a protruding handle. These plates are available in various designs, making them a stylish solution.
- Steps to Install a Backplate
- Select a backplate that matches your bathroom’s aesthetic and the handle’s diameter.
- Slide the backplate over the valve, ensuring it fits snugly against the wall.
- Reattach the trim plate and handle.
- Drawbacks
- This method only addresses cosmetic concerns and does not fix underlying alignment issues.
4. Replace or Modify the Handle
Sometimes, swapping out the handle for a shorter model or modifying it with adapters can resolve the issue. This option is ideal for minor protrusions.
- Steps to Modify the Handle
- Identify compatible shorter handles or adapters for your valve.
- Remove the existing handle and install the new one according to the instructions.
- Test the handle’s operation to ensure it functions smoothly.
- Limitations
- Handle modifications may not work if the valve depth discrepancy is significant.
5. Rebuild the Wall Around the Valve
For extensive protrusions, rebuilding the wall to align with the valve might be necessary. This approach involves adding or removing wall material.
- Steps to Rebuild the Wall
- Remove tiles or wall sections around the valve.
- Adjust the wall depth by adding a layer of material or cutting back existing layers.
- Refinish the wall and reinstall the trim plate and handle.
- Challenges
- This method is time-consuming and may require professional expertise.
- It’s best suited for major renovations or when no other solutions are feasible.
Comparison of Solutions
| Solution | Difficulty | Cost | Aesthetic Outcome | Functional Fix | Notes |
|---|---|---|---|---|---|
| Valve Adjustment | High | $$$ | Excellent | Excellent | Best for major depth discrepancies; requires wall access. |
| Trim Extension Kit | Medium | $$ | Excellent | Excellent | Ideal for moderate protrusions; easy to install with manufacturer kits. |
| Decorative Backplate | Low | $ | Good | Poor | Covers gaps cosmetically; doesn’t fix functional issues. |
| Handle Modification | Medium | $$ | Good | Good | Effective for minor adjustments; ensure compatibility. |
| Wall Rebuilding | High | $$$$ | Excellent | Excellent | Suitable for extensive misalignments; labor-intensive. |
Preventive Tips
Avoiding a protruding shower handle starts with proper planning and installation. Here’s how to prevent the issue from occurring in the first place:
- Follow Manufacturer Guidelines
Always adhere to the installation instructions provided with your valve and trim kit. Proper depth measurements during installation are critical. - Test Before Finalizing
Perform a dry fit of the handle and trim plate before completing the wall finish to confirm alignment. - Consult a Professional
If unsure about installation, hire a licensed plumber to ensure everything is done correctly. - Use Compatible Components
Ensure all parts—valves, handles, and trim kits—are from the same manufacturer and designed to work together.
When to Call a Professional
While many fixes can be performed as DIY projects, certain situations warrant professional assistance:
- If plumbing adjustments are required.
- When the valve needs repositioning but there’s no wall access.
- For extensive wall reconstruction or tile removal.
- If you’re unsure about compatibility or installation techniques.
Conclusion
Fixing a shower handle that sticks out too far is a manageable task with the right approach. From adjusting the valve position to installing a trim extension kit, there are solutions for various levels of severity and budgets. Understanding the root cause and carefully assessing the issue are critical to choosing the best method for your situation.
Whether you opt for a quick aesthetic fix or a more involved functional repair, addressing the problem promptly will enhance your bathroom’s appearance and usability. If in doubt, don’t hesitate to consult a professional for expert advice and assistance.